Google Voice not forwarding calls on TMobile phones

I hit an issue when setting up Google Voice on my phone that looks to be a common problem among T-Mobile users. During the Google Voice App install, the phone errors and says that it cannot change the call forwarding of missed calls to Google Voice. The calls still go to T-Mobile’s voice mail system. We know that is annoying.

I played around and found out that the solution is not that complicated. Here are the steps:

  • During the Google Voice installation you will get an error like “Couldn’t change the forwarding number. Contact your carrier if this problem persists.” Just go forward and complete the Google Voice installation steps.
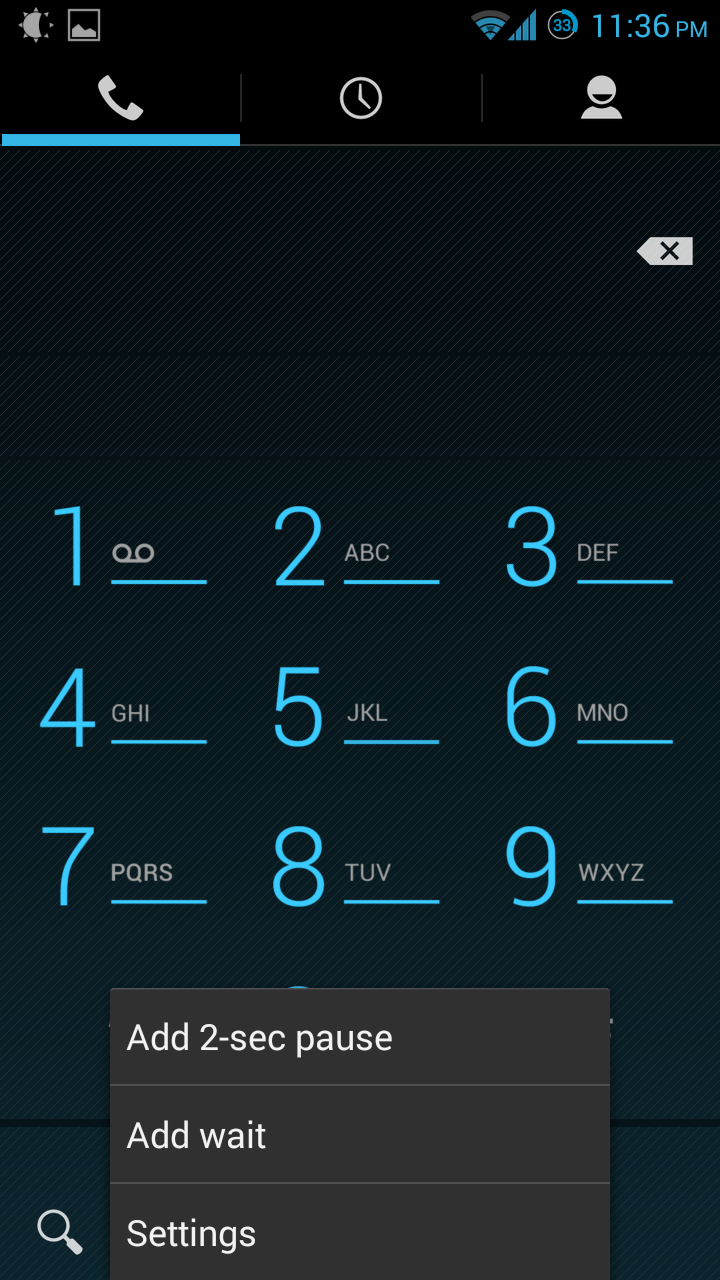
  • You will want to make sure that Google Voice did set itself as your Voicemail Carrier first. Open your phone, select the menu button, and select Settings.

Image

  • Open the Voicemail settings. They are under Other Call Settings on my phone.

Image

  • Check that Service or something similar says Google Voice.

Image

  • Go back to Call Settings and go into GSM call settings, also under Other Call Settings on my phone.

Image

  • Select Call forwarding

Image

  • For each of the fields for Forward when busy, Forward when unanswered, Forward when unreachable, enter and update to your Google Voice number.

Image

  • Now, make sure your Google Voice is ready to handle forwarded calls and enjoy your Google Voice voicemail forwarding!

Why Google Voice over TMobile’s voicemail service?

  • Google Voice offers easy access to your voicemail on the web, from your phone, they transcribe your voicemails for free, and they give you more control over your voicemail greetings. TMobile always seems to try to make you pay for these features.

Sources:

Posted in Android Apps, CyanogenMod, How-To, Samsung Galaxy S3 | Tagged , , , , | Leave a comment

OwnCloud and Raspberry Pi Model B

I bought a Raspberry Pi Model B (http://www.raspberrypi.org/wp-content/uploads/2011/07/RaspiModelB.png) so I could have fun playing with it. My main play item was OwnCloud (http://owncloud.org/) because I wanted to have an online backup of my files under my control. Uploading files to Dropbox, SugarSync, or SkyDrive is great but when you realize that your files are now readable by anyone at those companies or by any hacker that gets access, one kinda wishes they had more control over their files. OwnCloud is the solution.

The OwnCloud client is available on Windows, Mac, Linux, Android, and iOS so you can get your files pretty much anywhere. The OwnCloud server runs off of the Raspberry Pi after you install it.

The Windows and Linux clients are good. The first time doing a sync will be confusing because it is different than Dropbox since you need to specific which remote folder will sync with which local folder. The Windows client shows current upload sync and progress while the Linux one just shows syncing or complete, but I am sure they will update the Linux client.

The Android client is slick. InstantUpload of pictures works nicely, uploading files works great, and viewing the files in your OwnCloud is easy. It is $1 but that is not much for getting your files on the fly.

The server client is great but I should have used an old laptop instead of the RaspPi. There are too many processes running on the tiny RaspPi (uploading and downloading files, hosting web pages) causing it to run noticeably slow. To address the performance issue, I decided to sync only my active files instead of all my music, pictures, videos, and documents. The performance now is at a reasonable level. I love that one can set up user accounts and have as much storage as they want to purchase. A small caveat though is that the toughest part for me was telling the Apache server to store my files onto my external hard drive and not the local SD Card.

Overall, the OwnCloud is best for someone who wants to control their “own cloud” and the RaspPi is best for a quick way to get started. Though, do not expect to push the limits that far.

Posted in Nextcloud/OwnCloud, Reviews | Tagged | Leave a comment

Remove encrpytion on an Android internal SD card

This problem seems to be a big problem but finding the answer was rather hard and frustrating. So, if you encrypted your Android phone, depending on the phone and ROM, you might have found out that you cannot decrypt it because in the settings there are no options to decrypt the device. (My phone is CyanogenMod Galaxy S3 T-Mobile.) Besides from this being a strange idea that is screwing phone owners over, it does serve its purpose because trying to remove the encryption is nearly impossible. Sources on the web say that a factory reset will fix the problem but they won’t. Booting into recovery and trying to wipe the data there results in the inability to mount /data and other important file locations. Attempting to install another Android ROM over the existing ROM will not work either because /data cannot be mounted. I even played around with ADB (Android Debug Bridge) but was never able to get the adb shell commands to run on my Android. These ideas came from everywhere on the web.

The solution is to use TWRP (http://teamw.in/project/twrp2). This is a really good recovery image that allows you to access your internal and external sd cards after it prompts you for your password to decrypt storage. So finally after button mashing on wiping my data and restarting TWRP a few times, I was able to remove the encryption on my device and put on a new CyanogenMod version. All my data was wiped away but I had backed it up ahead of time.

In short, TWRP is the recovery image that saved the day and my phone.

Posted in CyanogenMod, How-To, Samsung Galaxy S3 | Tagged , | Leave a comment