A 4K monitor that is running at 30Hz is choppy and jumpy. Everyone wants the full 60Hz for the smooth mouse scrolling. But 4K 60Hz is so much data that needs to be transferred so quickly that every hardware and its configuration from the monitor to the laptop needs to support 4K 60Hz. One weak chain will result in 4K 30Hz.
Follow this guided checklist and be ready to read your hardware’s manual!
Monitor
Look at the website where you bought the monitor. Does it explicitly say it runs 4K 60Hz?
Monitor ports
Which ports support 4K 60Hz? Are there configurations you need to set? Read the monitor’s manual.
For example, for my Samsung LU28E85KRS/GO, HDMI #1 does not support 4K 60Hz but HDMI #2 does. The DisplayPort port supports 40K 60Hz, but only after setting the DisplayPort Versions to 1.2 in the monitor’s menu.
Cables
Use the cables that came in the monitor box. If the monitor was advertised with 4K 60Hz, these cables will support it. Otherwise:
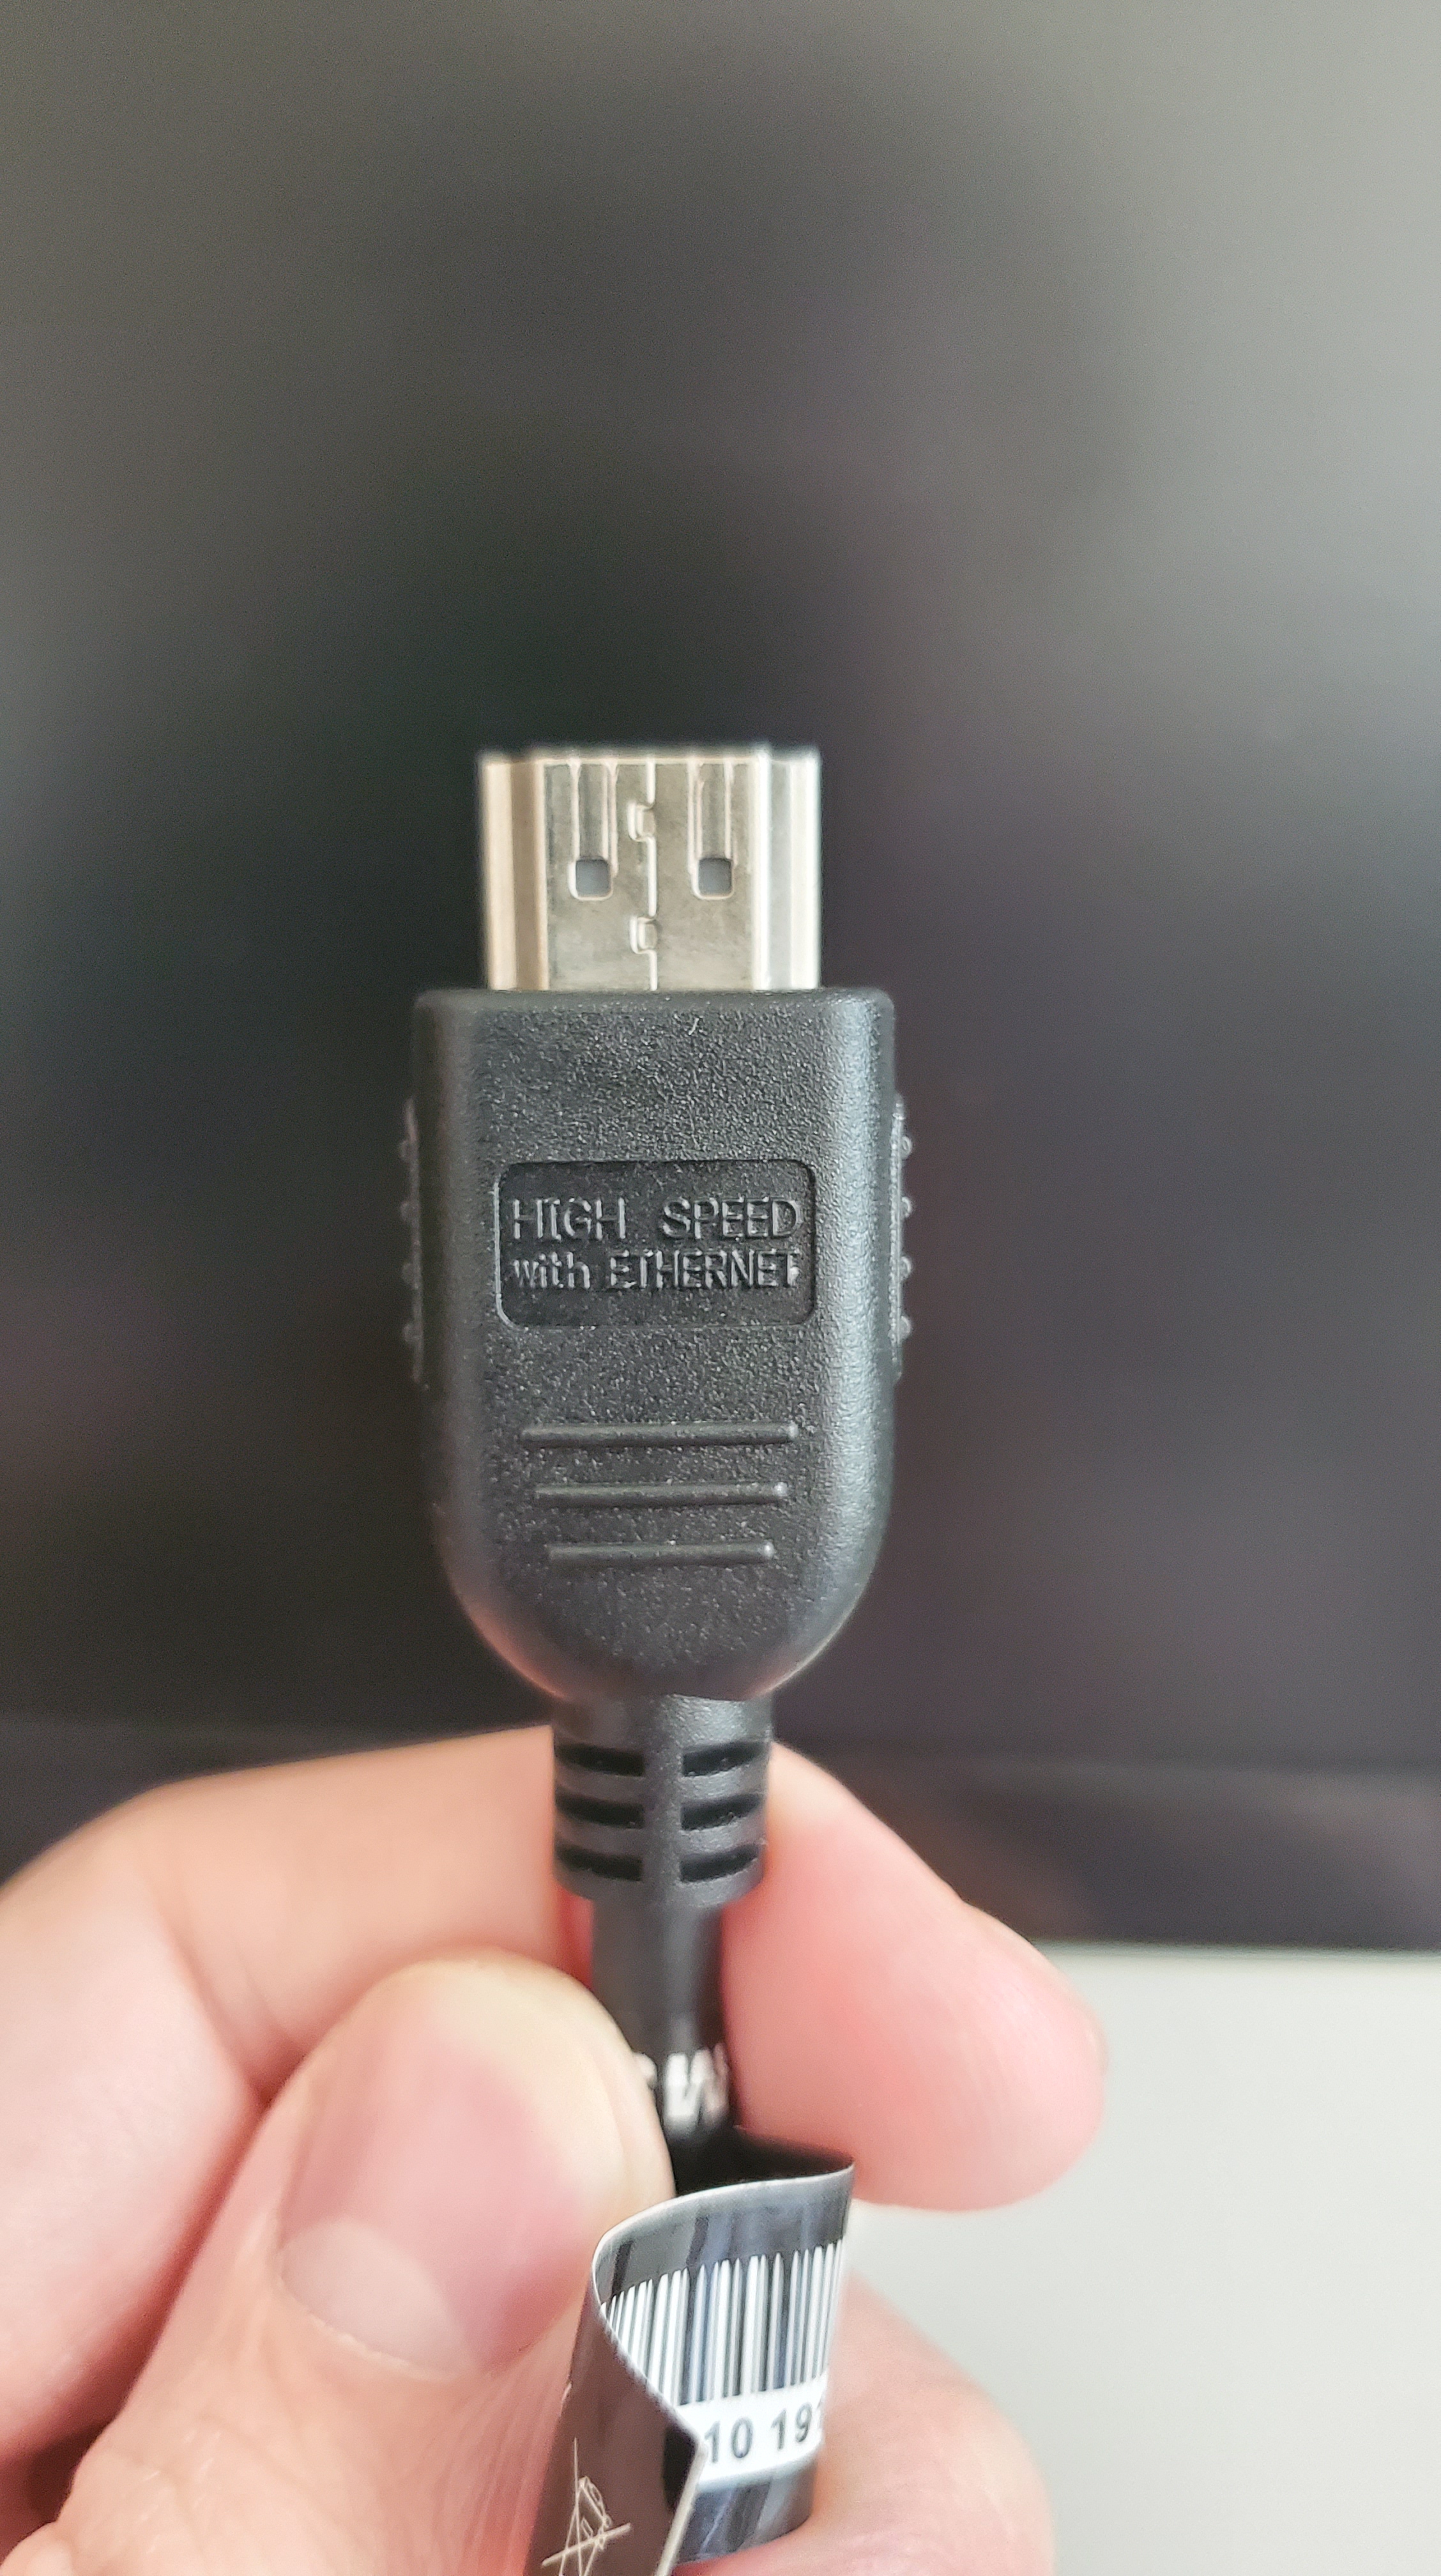
HDMI – Need 2.0 or greater. These will say “High Speed” on the cable near the ends. 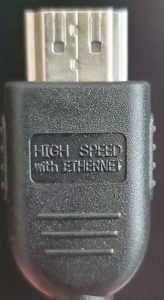
Display Port – Need 1.2 or greater.
USB C – Need 3.0 or greater
Cable adapters
Read the specifications! Cheap alternatives could overheat and not deliver on their promises.
USB C Adapter from Apple’s website 
3840×2160 at 60Hz on:
iPad Pro 11-inch, iPad Pro 12.9-inch (3rd Generation), MacBook Pro (15-inch, 2017 and later), iMac (Retina 5K, 27-inch, 2017 and later), iMac (Retina 4K, 21.5-inch, 2017 and later), and iMac Pro (2018)
1080p at 60Hz or UHD (3840 by 2160) at 30Hz on:
MacBook Air (2018), MacBook Pro (13-inch, 2016 and later), MacBook Pro (15-inch, 2016), iMac (non-Retina, 21.5‑inch, 2017), and Mac mini (2018)
Computer Graphics
Duckduckgo/Google your computer’s graphics card and “4K 60Hz”. Modern computers should support this. For Macs, support varies on device and year, but the cable adapter quote above is a good reference. Just be sure to verify your Macbook type, size, and year.
Computer ports
Read your computer’s manual! You cannot tell what version a port is by looking at it.
On my LG Gram 15Z975, there is an HDMI port and a USB C port. The HDMI port is version 1 and does not work, but the USB C is 3.0 and does support 4K 60Hz.
Windows – Display Settings
Windows lets you select the resolution and refresh rate in a deep menu. In that menu, you can verify what refresh rate your monitor is running at, and increase or decrease it. Additionally, you can pick the highest resolution that supports 60Hz.
Open Display settings from the Control Panel. Scroll and select “Advanced display settings”.
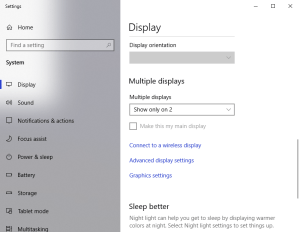
Some additional monitor information is displayed. Select the Display # from the dropdown menu and then click “Display adapter properties for Display #”.

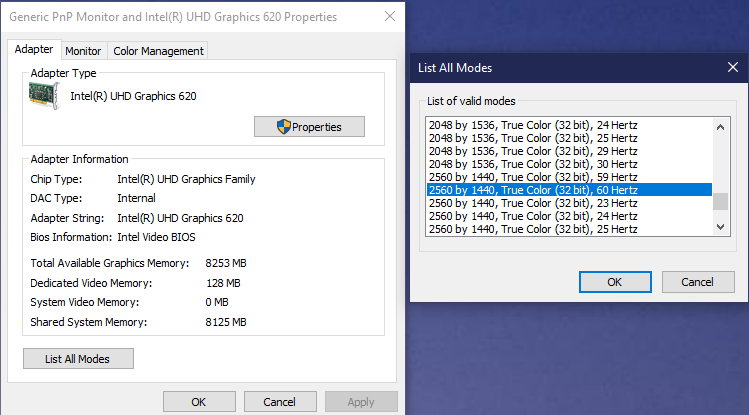
This could be different depending on your Graphics adapter, but the next step is click “List All Modes”. Pick your preferred resolution and refresh rate.

Mac – Display Settings
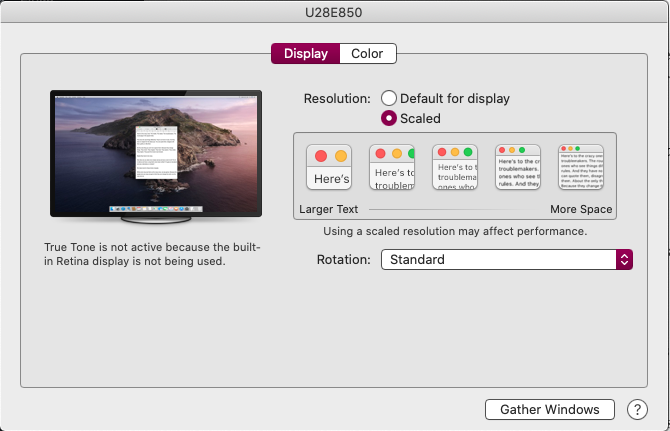
Macs do a cool little thing for their retina displays, which they extend for high resolution monitors. They scale smaller displays up to a monitor’s full resolution. This means they send the full resolution to the monitor but the computer has smoothed all of the text edges. This avoids the monitor pixelating the text.
But this cool trick makes it difficult to verify if you are running at 60Hz or 30Hz! If you are stuck at not being able to run 4K 60hz, you can also pick a lower resolution that supports 60Hz while you wait for new cables to arrive in the mail.
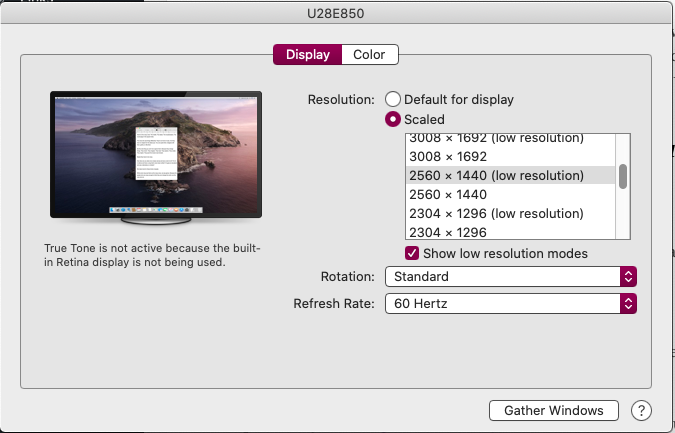
Macs simplify the amount of resolutions shown in their Displays menu, but by Option clicking on “Scaled” and then selecting “Show low resolution modes”, all the display modes are visible.

Now it is trial and error. Pick a low resolution mode, check the possible refresh rates, and if not 60Hz, keep going down. For me, 2560×1440 worked for me!

References